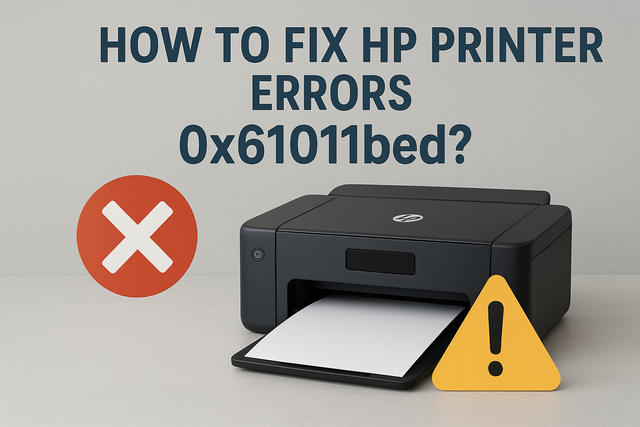
How To Fix HP Printer Errors 0x61011bed?
Ink System Failure is a common error message that is displayed on the printer control panel or the computer. In such cases the printer wouldn’t be able to print.
In this article, We give you proper guidelines on How to Fix HP printer Errors 0x61011bed?
Step 1: Use genuine HP ink cartridges
HP says that we should always use genuine ink or toner supplies. HP cannot provide any guarantee regarding other Non-HP or refilled cartridges.
In case you do not use genuine HP cartridges then this article might not be of any help to you. However, if you are using genuine HP cartridges then this article might able to help you.
If you want to check the authenticity of the website then consider looking at our website. If your issue still continues thing through the rest of the article in further details.
Step 2: Reset the printer
At times only a basic printer reset can help solve such kind of error messages. Follow the steps given below to do this.
- Turn on the printer if it is not ready.
- Wait until the printer is idle and silent before you continue any further.
- With the printer turned on, disconnect the power cord from the rear of the printer.
- Unplug the power cord from the wall outlet.
- Wait for 60 seconds.
- Plug the power cord back in to the wall outlet.
- HP Printer should always be plugged in as advised by the HP company.
Step 3: Remove the ink cartridges
Removing the ink cartridges while checking for any kind of error message shall help diagnose the printer issue. Take out the ink cartridges from the printhead and then check the printer control panel or computer for any kind of error message. Follow the steps given below:
- Open the ink cartridge access door.
- The cartridge shall move to the left side of the access area.
- Wait for the cartridge tube idle or silent.
- Push on the front of the ink cartridge to release it back and then pull the ink cartridge towards you to remove it.
- Repeat the same steps for the other ink cartridge.
- Close the ink cartridge access door.
Step 4: Clean the ink cartridges, and then check the error message
Cleaning of ink cartridge contacts and then again reinstalling it bank one at a time can help determine if any of the ink cartridge is causing error.
For this you would need to gather the following materials:
- A clean lint free cloth
- A clean dry cotton swab
- Distilled or bottled water
- Do not use tap water as it might damage the printhead.
- Dampen the cloth lightly with the water
- Gently wipe the copper colored contact on one of the inns cartridges.
- Wipe it of with a dry lint free cloth before proceeding to the next step.
- Repeat the steps for the other cartridges too.
- Carefully, put it back into the set and then push the cartridge forward until it clicks back into the right place.
- Make sure each colored dot on the ink cartridge cable matches its colored dot on the print carriage.
Step 5: Update the printer firmware
You might receive an error if the printer firmware is outdated. Download the firmware update from the HP website and then install it on your printer.
If these steps were not enough to solve your problem then follow the next steps:
Step 6: Service the printer
Try and contact HP to service the printer.
Service or replace your HP product if you completed all the preceding steps but it wasn’t of any help.
If you have any query related to your problem you can directly contact on HP technical support phone number (1800-258-7170).
My HP 6700 cartridges will not stop in the middle for me to take out the ink cartridges to clean.